Welcome to the comprehensive guide for the Nikon D850, a powerful DSLR camera designed for professional photographers and enthusiasts․ This manual provides detailed insights into the camera’s features, settings, and advanced functionalities, helping you unlock its full potential․ Whether you’re familiar with Nikon systems or new to DSLR photography, this guide will walk you through everything you need to know to master the D850․ Inside, you’ll discover how to navigate menus, customize controls, and utilize advanced shooting techniques to capture stunning images․ Let’s dive in and explore the endless possibilities of the Nikon D850 together!
1․1 Understanding the Importance of the Nikon D850 Manual
The Nikon D850 manual is an essential resource for photographers seeking to maximize their camera’s capabilities․ It provides detailed instructions on operating the camera, customizing settings, and troubleshooting common issues․ Whether you’re a professional or an enthusiast, the manual offers insights into advanced features like the 45․7MP sensor, autofocus customization, and focus stacking․ By understanding the manual, you can unlock the full potential of the D850, ensuring optimal performance in various shooting conditions․ It serves as a comprehensive guide to mastering the camera’s intricate functions and enhancing your photography skills․ This resource is indispensable for anyone aiming to get the most out of their Nikon D850․
1․2 Overview of the Nikon D850 Camera Features
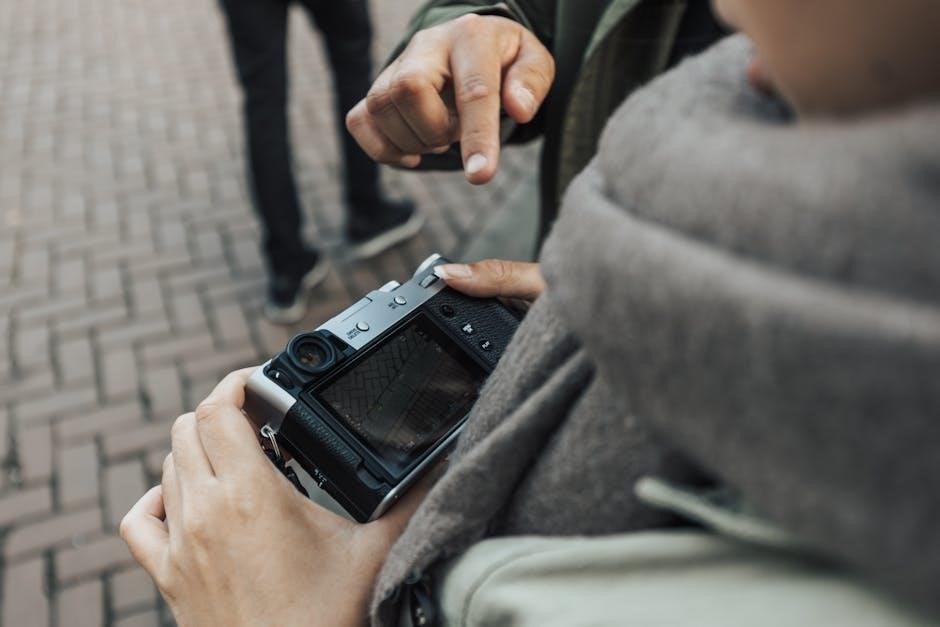
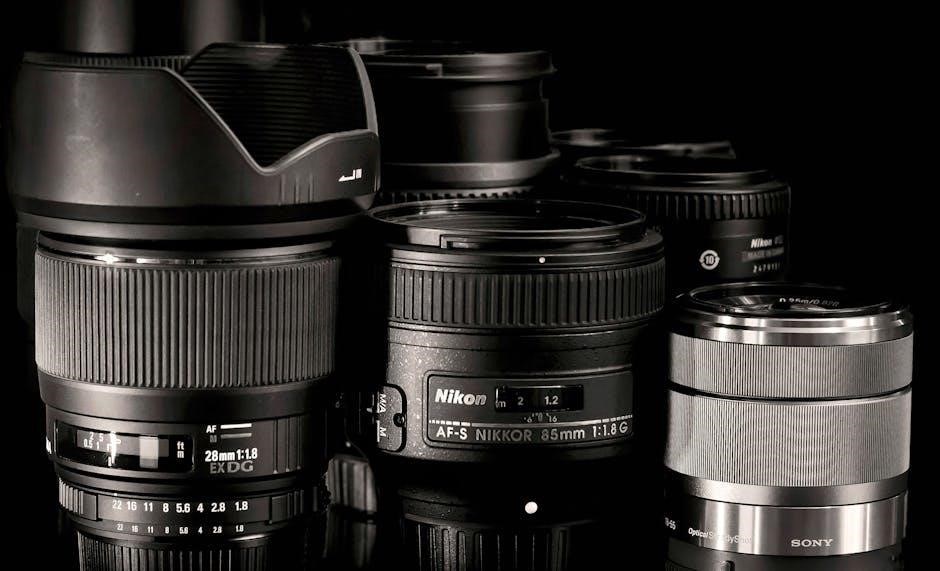
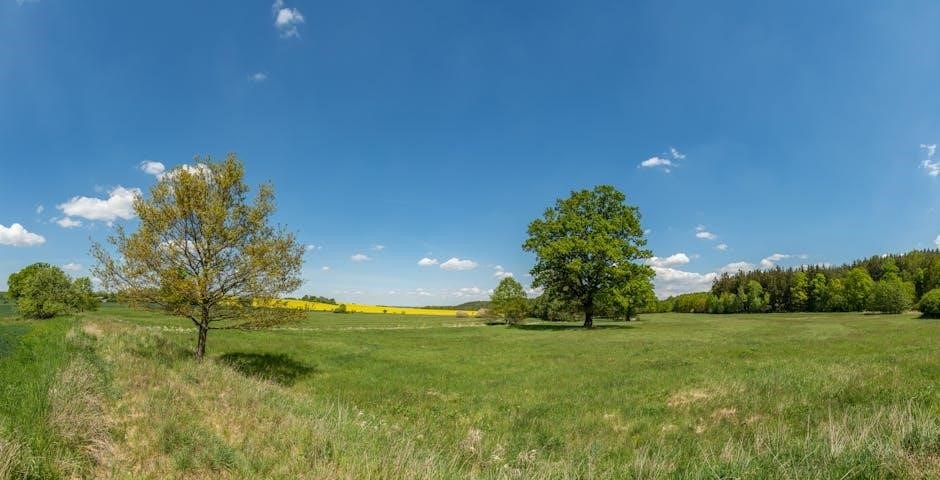
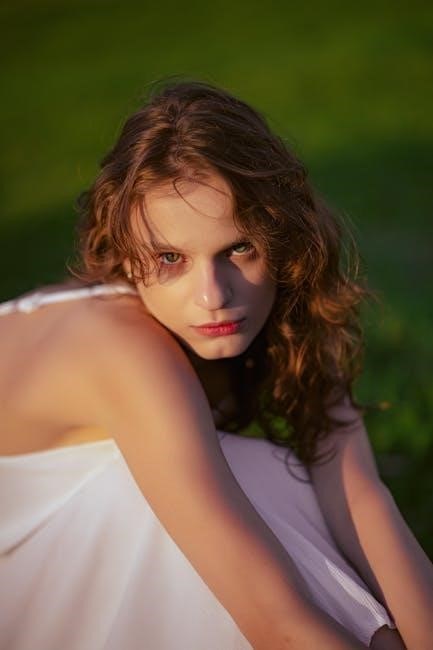
The Nikon D850 boasts an impressive array of features, making it a powerhouse for professional photography․ Its 45․7MP FX-format sensor delivers exceptional image quality, with outstanding resolution and dynamic range․ The camera also features a robust autofocus system with 153 phase-detection points, enabling precise and fast subject tracking․ Additional highlights include 4K UHD video recording, a tilting touchscreen LCD, and compatibility with Nikon’s extensive range of lenses and accessories․ These features, along with its durable weather-sealed design, make the D850 an ideal choice for capturing high-quality images in various environments, from landscapes to portraits and action shots․
How to Download and Access the Nikon D850 Manual
Visit Nikon’s official website, navigate to the Download Center, and select the D850 manual․ Choose from PDF or online versions for easy access and reference․
2․1 Step-by-Step Guide to Downloading the PDF Manual
To download the Nikon D850 manual, visit the official Nikon Download Center at http://downloadcenter․nikonimglib․com/․ Select the D850 model from the product list, choose your preferred language, and click on the PDF manual link․ The file will begin downloading automatically․ For direct access, use the link: http://download․nikonimglib․com/archive3/JRW9d004gv6O03febDd19nm2SA39/D850UM_EU(Ru)01․pdf․ Ensure your device has sufficient storage space and a PDF reader installed․ This guide covers all camera functions, making it essential for mastering the D850’s capabilities․

2․2 Navigating the Nikon D850 Online Manual
The Nikon D850 online manual is accessible via the official Nikon website at http://onlinemanual․nikonimglib․com/d850/en/․ To view it, open a web browser and navigate to this URL․ The manual is divided into sections, including camera features, shooting modes, menu options, and troubleshooting guides․ Use the table of contents for quick navigation or the search function to find specific topics․ The online format allows easy access to detailed explanations and visual aids, making it a valuable resource for understanding and optimizing your D850 camera․
Key Features of the Nikon D850 Explained in the Manual
The Nikon D850 manual highlights its 45․7MP FX-Format sensor, advanced autofocus system, and customizable settings, providing detailed explanations to help photographers maximize these features for exceptional image quality․
3․1 Detailed Overview of the 45․7MP FX-Format Sensor
The Nikon D850’s 45․7MP FX-Format sensor delivers exceptional image quality, capturing intricate details with remarkable clarity․ Its full-frame design ensures superior light capture, reducing noise and enhancing dynamic range․ The manual explains how this sensor’s backside-illuminated CMOS technology improves low-light performance and color accuracy․ With its high megapixel count, the D850 excels in landscape, portrait, and commercial photography, providing flexibility for cropping and enlarging images without compromising quality․ This sensor is a cornerstone of the D850’s capability, empowering photographers to achieve professional-grade results consistently․
3․2 Exploring the Autofocus System and Its Customization
The Nikon D850 boasts an advanced 153-point autofocus system, offering unparalleled precision and speed․ With 99 cross-type sensors, it excels in tracking moving subjects and achieving sharp focus in various lighting conditions․ The manual details how to customize AF modes, such as AF-S for stationary subjects and AF-C for dynamic motion․ Users can also adjust AF-C custom settings to optimize focus tracking based on subject behavior․ Additionally, the Group-Area AF mode enhances subject tracking by using a cluster of points, while the manual provides guidance on fine-tuning these settings for specific photography scenarios, ensuring precise control over every shot․

Mastering the Menu System of the Nikon D850
The Nikon D850’s menu system is designed to optimize camera settings for exceptional photography․ It offers intuitive navigation through shooting, playback, and setup options, allowing precise customization to suit your creative needs․ The manual provides clear guidance on utilizing these features effectively, ensuring you can fully harness the camera’s potential․ By exploring the menu, you can tailor every aspect of your photography experience, from autofocus settings to image processing, to achieve professional results․ This section is your gateway to unlocking the D850’s full capabilities․
4․1 Navigating the Shooting Menu for Optimal Settings
The Shooting Menu on the Nikon D850 is your gateway to configuring camera settings for capturing stunning images․ It allows you to adjust critical parameters such as Image Quality, White Balance, and ISO sensitivity․ By exploring this menu, you can optimize settings for various photography scenarios, ensuring your photos meet your creative vision․ The manual provides detailed guidance on customizing these options, enabling you to fine-tune every aspect of your shooting experience․ With precise control over exposure, focus, and image processing, the Shooting Menu empowers you to achieve professional-grade results in any situation․
4․2 Customizing the Playback and Setup Menus
The Playback and Setup Menus on the Nikon D850 offer extensive customization options to streamline your workflow and enhance usability․ The Playback Menu allows you to adjust how images are displayed, including options for slideshow playback, image rotation, and copyright information․ Meanwhile, the Setup Menu lets you personalize camera settings such as monitor brightness, language, and auto-shutdown timers․ By tailoring these menus to your preferences, you can optimize your shooting and post-processing routines․ This section of the manual guides you through each feature, ensuring you make the most of the D850’s flexibility and convenience․
Customization and Personalization Options
The Nikon D850 offers extensive customization options, allowing photographers to tailor camera functions to their preferences․ Custom controls, button assignments, and saved presets enhance shooting efficiency and personalization․
5․1 Configuring Physical Buttons and Controls
The Nikon D850’s physical buttons and controls can be customized to suit your shooting style․ Through the Custom Setting Menu, you can assign frequently used functions like ISO, exposure compensation, or focus mode to specific buttons, such as the Fn or Sub-selector buttons․ Additionally, the camera’s touch-sensitive LCD screen allows for intuitive control, enabling you to quickly adjust settings or navigate menus․ This level of customization ensures that your workflow becomes more efficient, allowing you to focus on capturing the perfect shot without unnecessary distractions․ Personalize your camera to match your creative vision and enhance your photography experience․
5․2 Saving and Managing Custom Settings
The Nikon D850 allows you to save and manage custom settings for quick access and consistency․ Use the Custom Setting Menu to configure settings like autofocus modes, metering, and button assignments, then save them to a memory card or the camera itself․ This feature ensures your preferred settings are preserved and can be easily loaded when needed․ Additionally, you can transfer saved settings to other Nikon D850 cameras or back up configurations on your computer using Nikon’s software․ This functionality streamlines your workflow and ensures your camera is always tailored to your shooting style, enhancing efficiency and creativity in your photography․
Advanced Shooting Techniques in the Nikon D850 Manual
Explore advanced techniques like focus stacking, time-lapse photography, and long exposures to capture stunning images․ Master these methods to elevate your photography to professional levels effortlessly․
6․1 Mastering Manual Modes and Exposure Control
Mastering manual modes on the Nikon D850 allows for precise control over aperture, shutter speed, and ISO․ The manual explains how to use these settings to achieve desired effects, such as freezing motion or creating blur․ Learn how to read and utilize the camera’s metering modes, including Matrix, Center-Weighted, and Spot metering, to ensure accurate exposures․ Discover how to fine-tune exposure compensation and bracketing for challenging lighting conditions․ The guide also covers the use of the histogram to perfect your shots․ With practical examples and step-by-step instructions, you’ll gain confidence in manual shooting and exposure control․
6․2 Utilizing Advanced Features like Focus Stacking
The Nikon D850 manual introduces advanced techniques like focus stacking, enabling photographers to achieve exceptional depth of field in macro or landscape photography․ This feature allows capturing multiple images at varying focus points, which can later be combined using post-processing tools․ The manual explains how to use the camera’s Focus Shift Shooting mode for automatic focus stacking, ensuring precise control over each shot․ Additionally, it guides users on how to review and adjust focus points using the retouch menu․ This feature is perfect for creating images with sharp focus across the entire frame, enhancing detail and creativity in your work․
Troubleshooting Common Issues
Identify and resolve common issues like error messages and connectivity problems with the Nikon D850․ Troubleshoot malfunctions and optimize SnapBridge for seamless wireless operation easily․
7․1 Resolving Error Messages and Camera Malfunctions
Encountering error messages or camera malfunctions can disrupt your workflow․ The Nikon D850 manual provides detailed solutions, such as resetting the camera, checking firmware updates, and ensuring proper memory card formatting․ For specific error codes, refer to the troubleshooting section for guidance․ Regularly updating your firmware can prevent many issues, while proper maintenance ensures optimal performance․ Addressing these problems promptly helps you get back to capturing high-quality images without missing a moment․ Keep your D850 in top condition with these expert solutions․
7․2 Fixing Connectivity Issues with SnapBridge
Connecting your Nikon D850 to devices via SnapBridge can sometimes encounter issues․ Ensure your camera and device have Bluetooth enabled and are properly paired․ Restarting both devices often resolves connectivity problems․ Check that SnapBridge is updated to the latest version and that your device’s operating system is compatible․ If issues persist, reset the camera’s network settings or reinstall the SnapBridge app․ For detailed troubleshooting steps, refer to the Nikon D850 manual’s connectivity section․ Maintaining a stable connection ensures seamless image transfer and remote shooting capabilities․
Mastering the Nikon D850 manual empowers you to unlock its full potential, enhancing your photography skills and creativity․ With this guide, you’re ready to capture stunning images effortlessly․
8․1 Maximizing Your Photography Potential with the Nikon D850 Manual
By mastering the Nikon D850 manual, photographers can fully harness the camera’s capabilities, ensuring exceptional results․ The guide provides in-depth insights into advanced features, from the 45․7MP sensor to customizable controls, empowering users to refine their techniques․ Whether capturing landscapes or portraits, the manual’s expert advice helps optimize settings for stunning imagery․ Troubleshooting tips and customization options further enhance your shooting experience, enabling you to overcome challenges and achieve professional-grade photos․ With the Nikon D850 manual, unlock new creative possibilities and elevate your photography to the next level effortlessly․